Creating an API Resource
How to create an resource
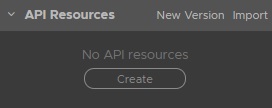
Select the endpoints you will expose in your API. If you don't have any API Resource, this is be shown in your directory:

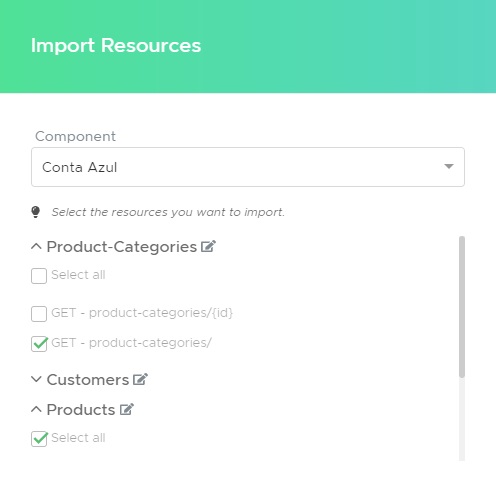
This is where you'll import the endpoints you'll expose. Click on Import to start editing. Select a Component from this project's Dependencies and import to reflect it to your API. You can edit the endpoints names and which endpoint you'll use.

Select Import so you can customize your endpoints.
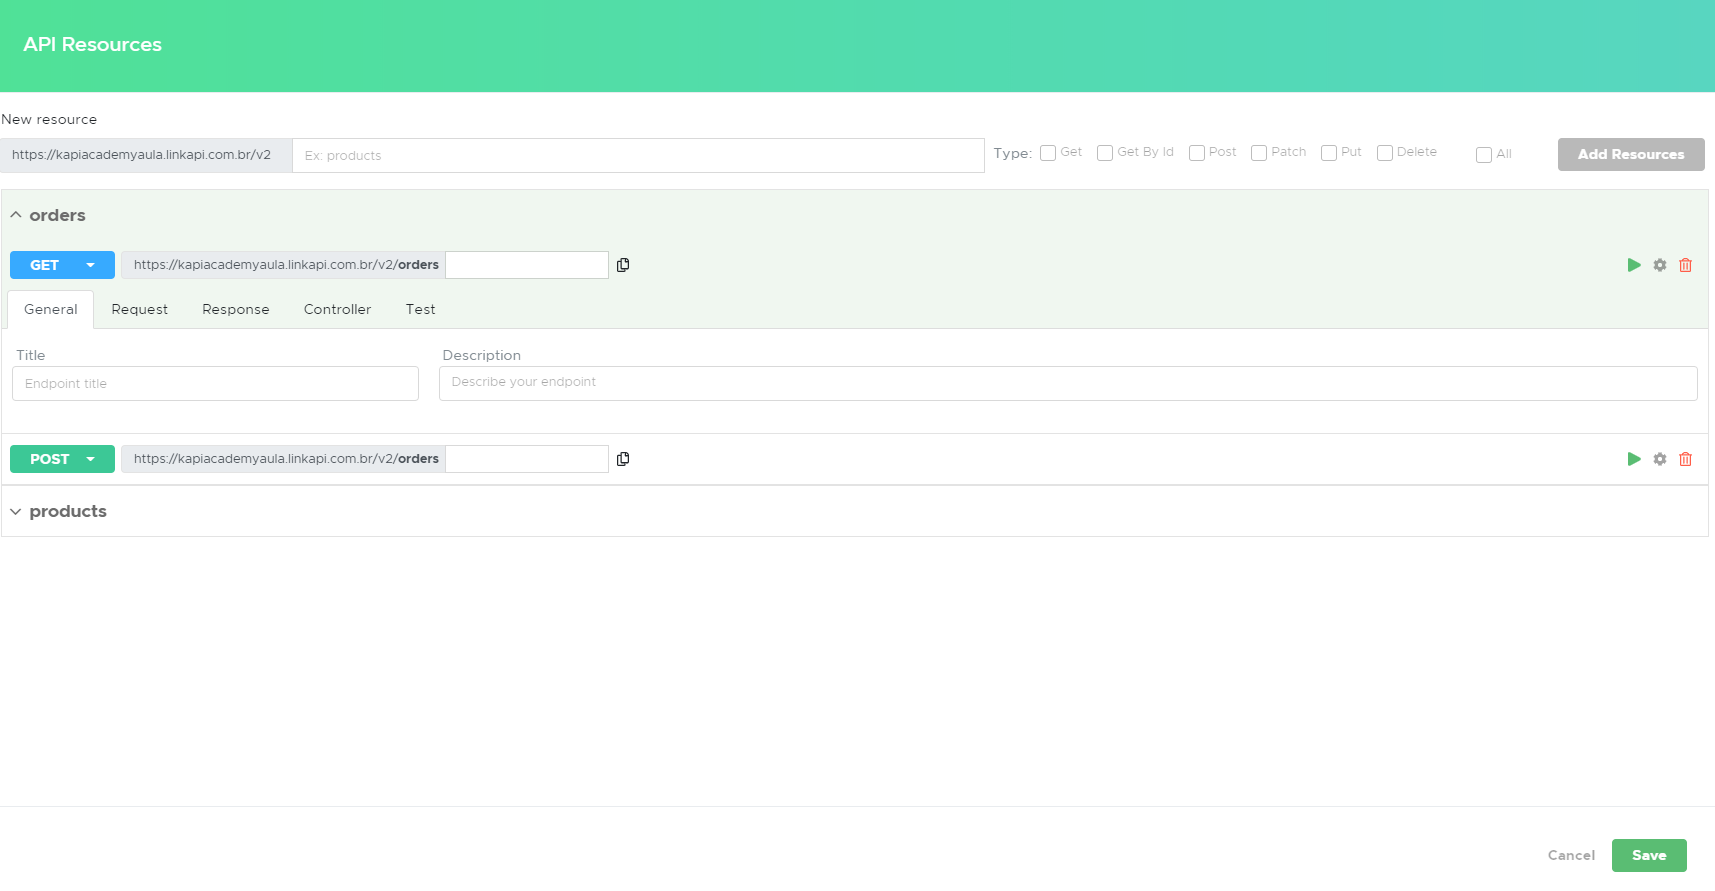
You can also create blank Resources, setting them up just like a Component Resource.

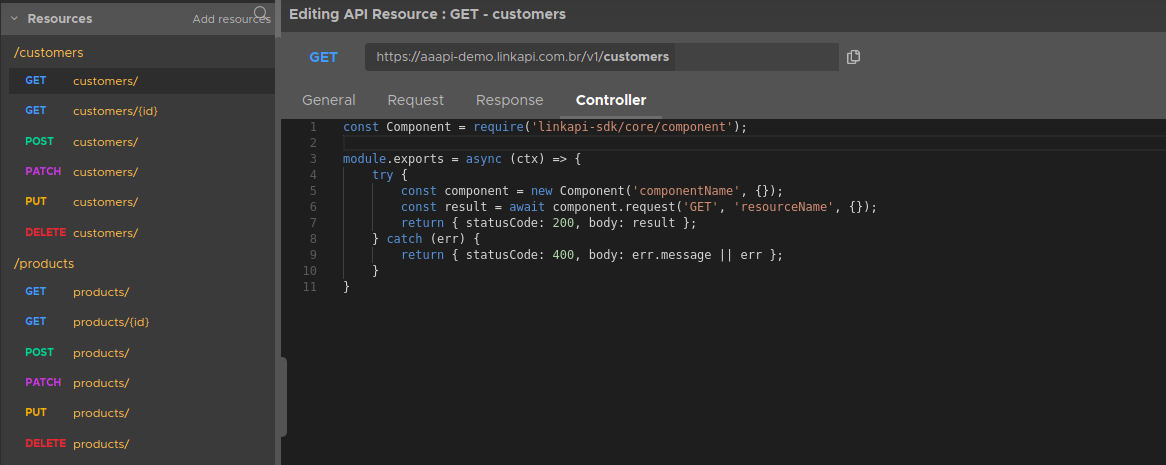
Click save to create these Resources. They'll be editable with the Code Builder, clicking on the Resource on the left.

When you're editing an API resource, there's 4 tabs with configuration. The Controller is the main one, where you can setup additional coding for your endpoints.
In the General tab, setup a description for your final user, while viewing your API documentation.
Customize your Requests and Responses for more control over your resource.
Remember you need to Commit and Publish your project for these Resources to run and for the documentation to refresh.
Updated over 5 years ago
