Transactions
These are our SDK Transactions.
Transactions are vital in the build process to track your integrations. Here's a guide of how to use them.

Start a Transaction
To start a transaction, simply input in your integration:
await linkapi.transaction.start('UNIQUE-KEY');
This generates a Transaction with a Pending Status. You can manipulate the status of this Transaction based on your build.
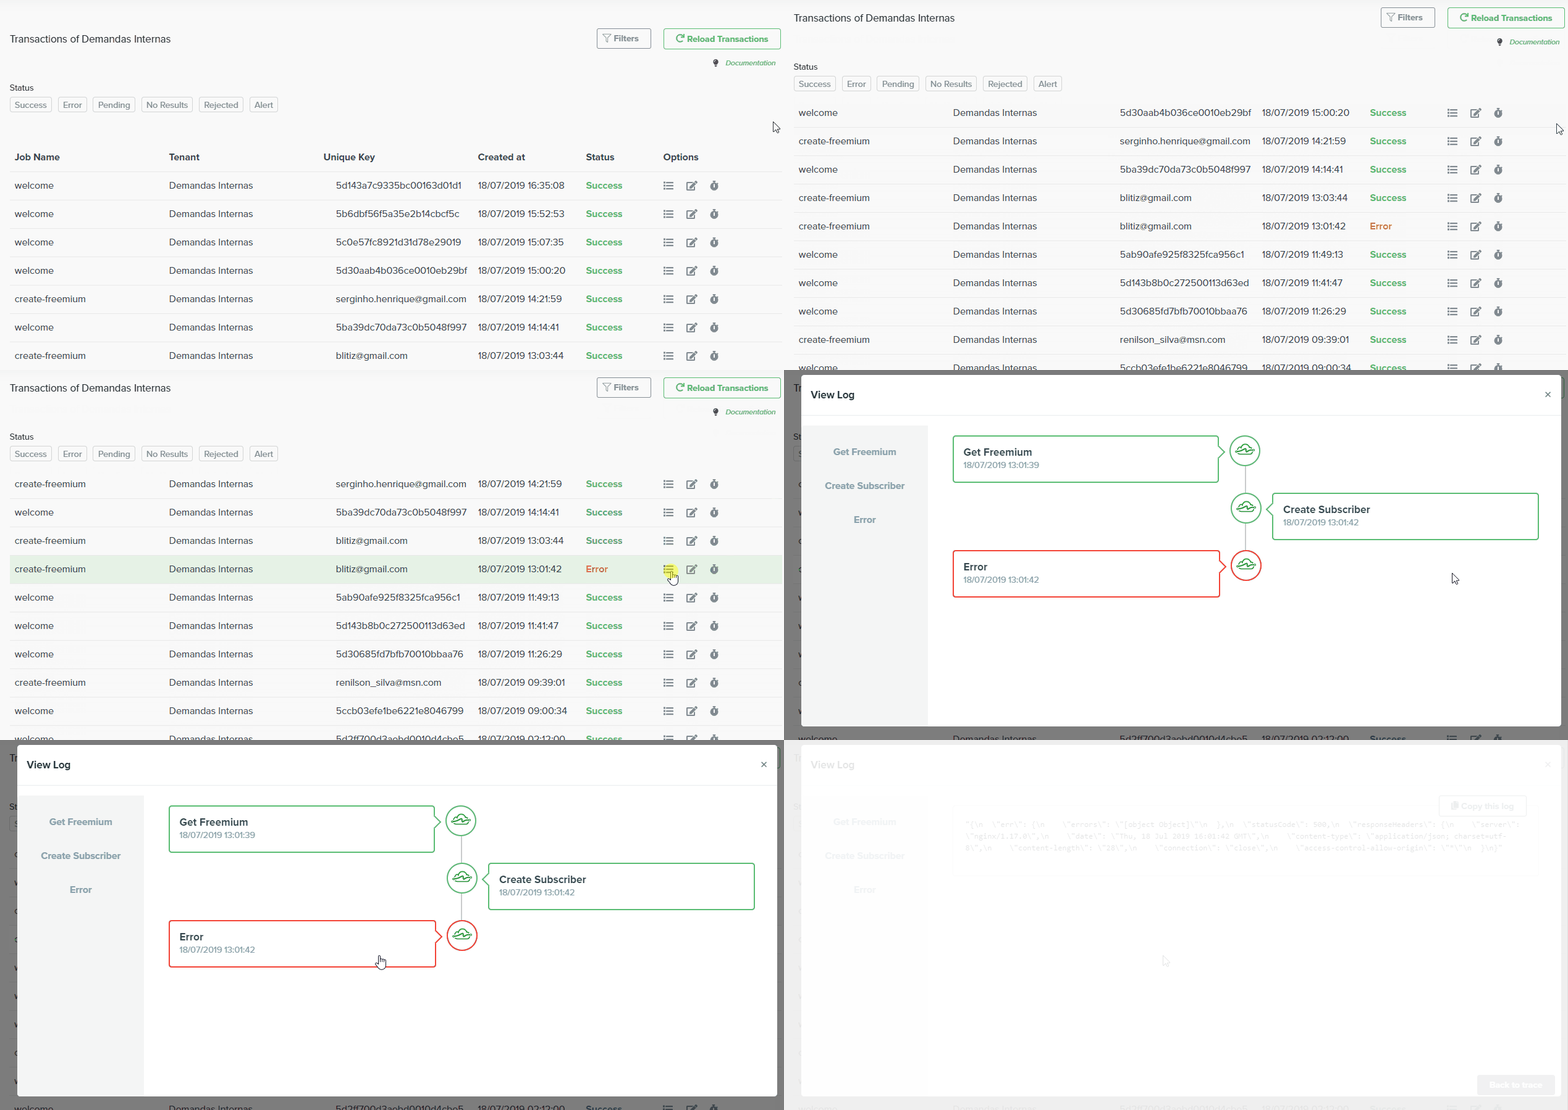
In the LinkApi platform, all Transactions information will be under Monitoring > Transactions. You can filter them by id, date or status.
Adding Traces
You can add Traces to have complementary information inside your code. You can set various traces to different treatments of your code. They will be logged inside the portal.
All trace information can be found inside View logs, including successes, errors and payload logs.

Start a new Trace this way:
await linkapi.transaction.trace('UNIQUE-KEY', {
	name: 'Trace 1' // the trace name
	status: 'SUCCESS' // can be: SUCCESS, ERROR, EMPTY
	data: {} // the content of the trace
});
Finalizing a Transaction
Based on your integration flow, you'll need to close a Transaction with the right status to show it in the portal.

To close a transaction use this line of code:
await linkapi.transaction.success('UNIQUE-KEY'); // finalize with Success
await linkapi.transaction.failed('UNIQUE-KEY'); // finalize with Error
await linkapi.transaction.empty('UNIQUE-KEY'); // finalize Empty
Updated over 6 years ago
